Mastering React Native Environment Setup with Expo CLI
Get Started with React Native and Expo CLI: A Beginner's Guide
Experienced full-stack developer with a passion for tackling complex challenges.
Dedicated to helping you become a top 1% mobile app developer.
Passionate about mentoring, teaching, and continuous learning in new technologies.
Hi there!
Today we are going to talk about how to do the React Native Environment setup in Windows with Expo CLI
Overview
Environment Setup
Creating Project
Running App via Expo Go App
React Native is a popular open source framework by Meta that helps us to create cross platform apps by using JavaScript and React JS.
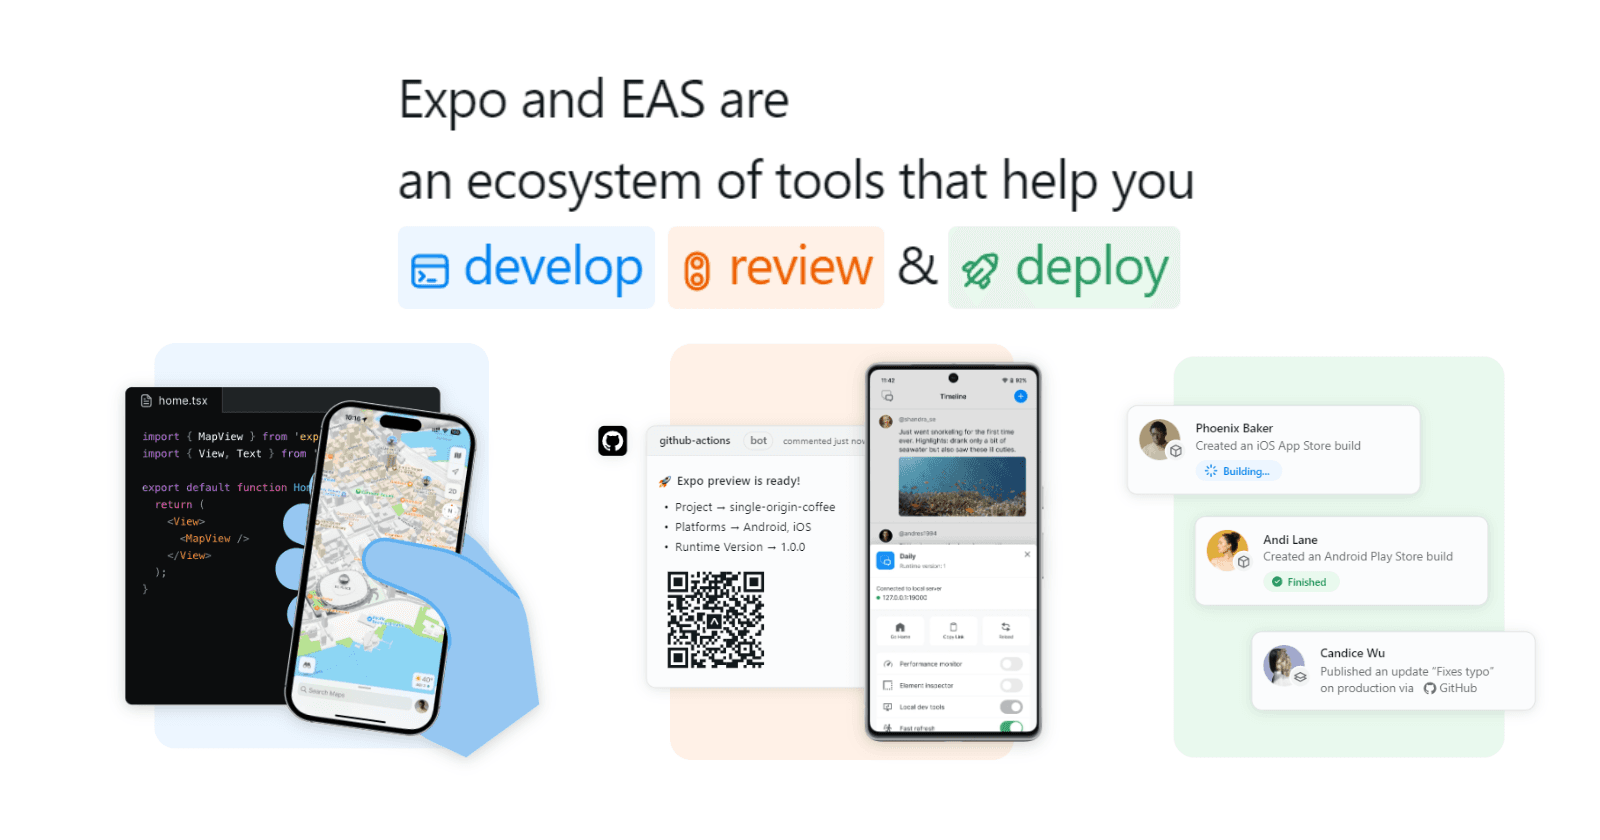
Expo is a toolset that makes creating React Native apps easier.
Environment Setup
Download and Install Node.js [click here]
Download and Install Visual Studio Code [click here]
Now, open Windows PowerShell and type :
node -v
If above command returns version like below then your NodeJS has been installed correctly.

If you are getting some error as output while running above command then re-install NodeJS and fix this before proceeding further.
Create a project using Expo command
Now, type the following command to create our first React Native App with Expo.
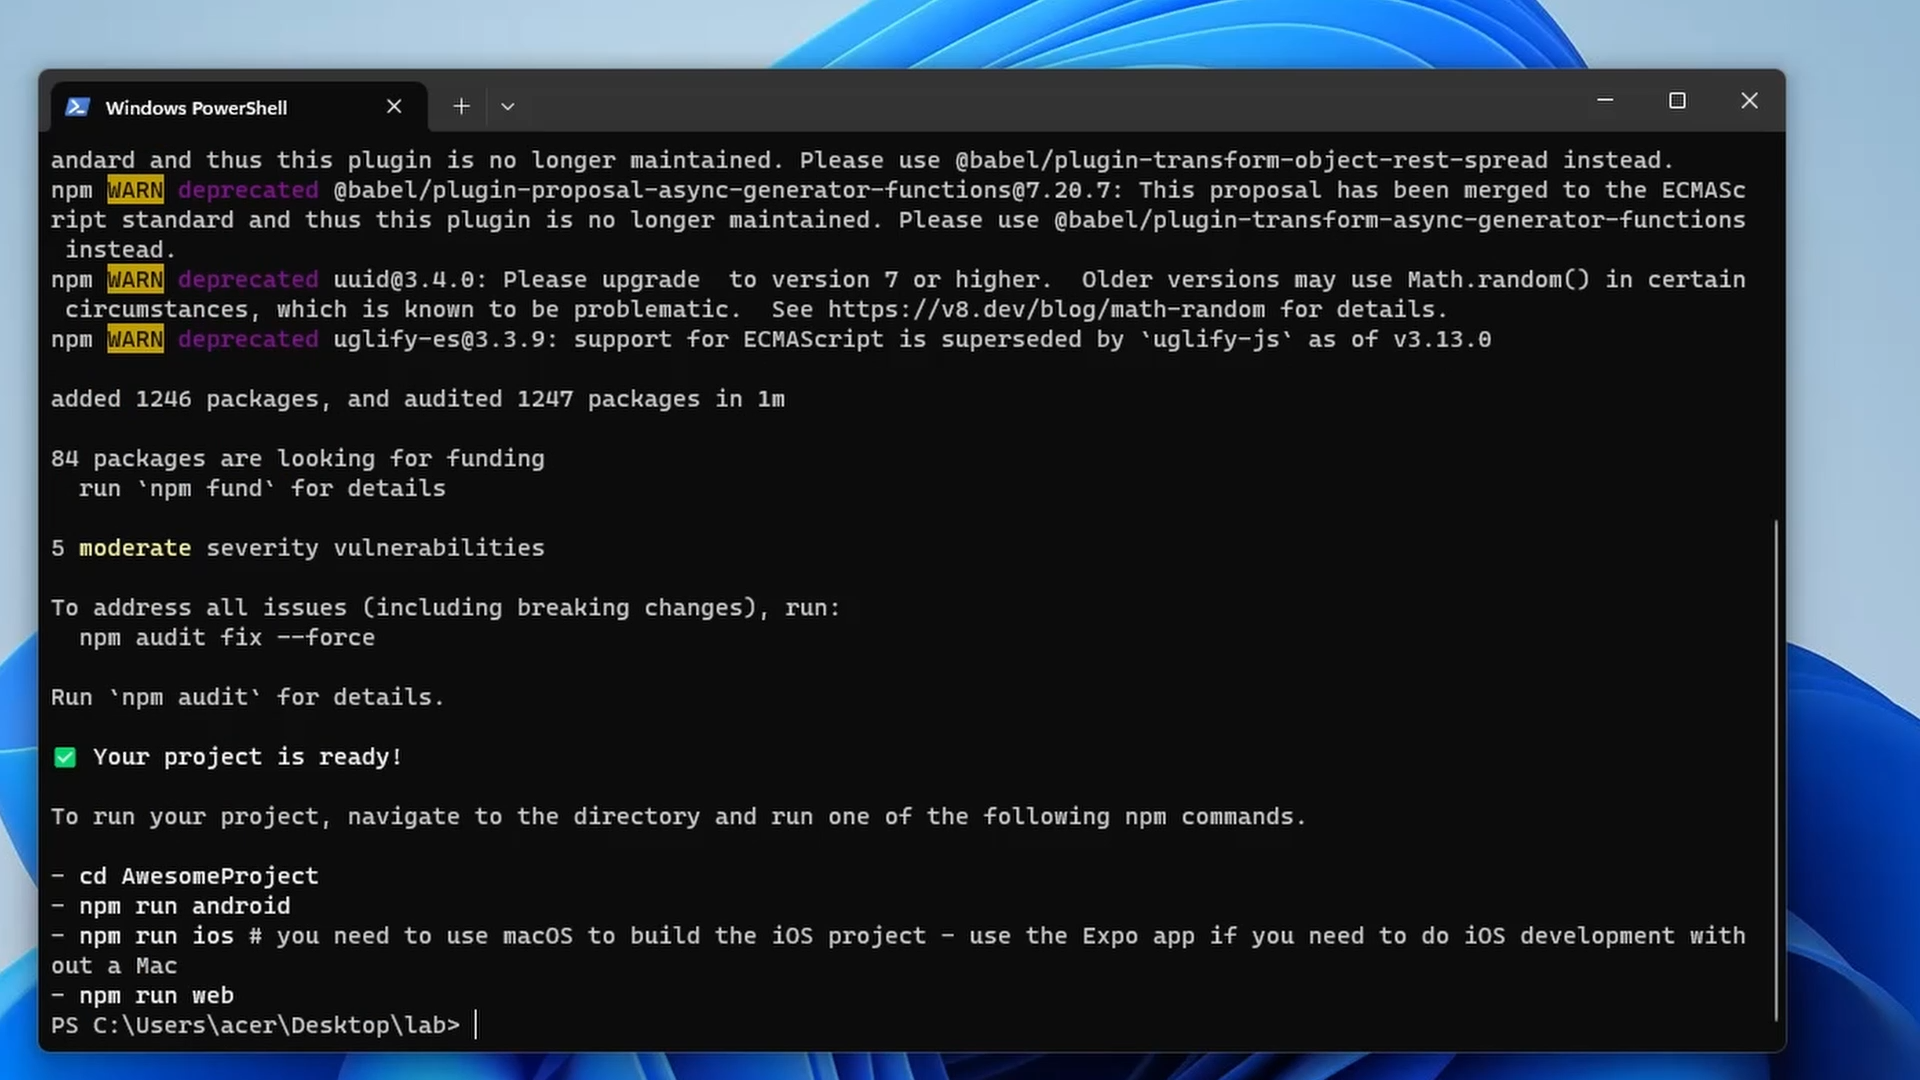
npx create-expo-app AwesomeProject
Output
Now, we will open this project in VS Code directly from PowerShell using following command:
code AwesomeProject
Output:
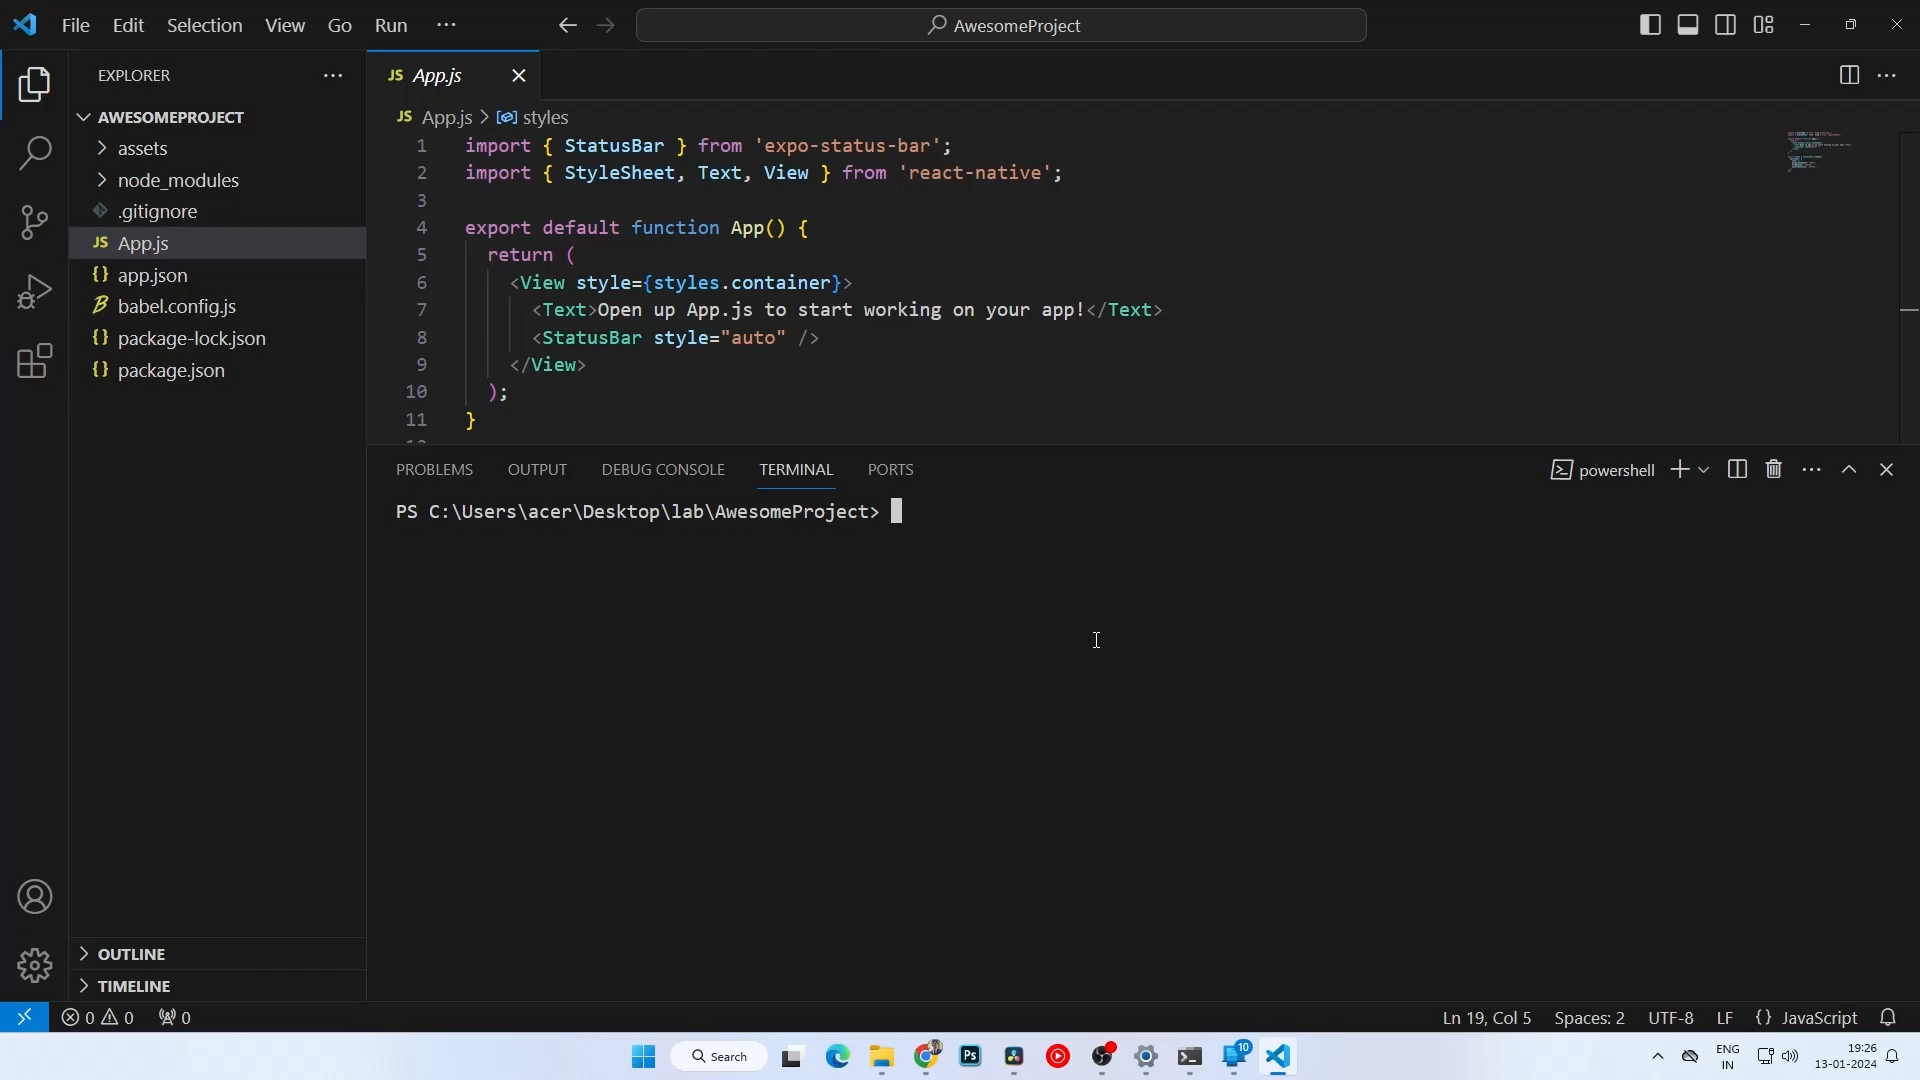
Folder Structure of our App
As you can see the above image, expo command has created the following files and folders. Here is a basic overview of the folder structure:
node_modules: This folder contains all the dependencies of your project. You generally don't need to manually modify anything here.
assets: The assets folder is where you can store static assets like images, fonts, and other files that are required by your application.
App.js: This is the entry point of your application. It contains the root component of your app, where you define the structure of your UI and handle navigation.
App.json: This file contains configuration settings for your Expo app, including the app name, version, and other settings.
package.json: This file lists the dependencies and scripts for your project. It also includes other metadata about your project.
babel.config.js: This file is used for configuring Babel, which is a JavaScript compiler. It allows you to use the latest ECMAScript features in your code.
Expo related files (e.g., app.json, expo.config.js): Depending on your Expo configuration, you might have additional files related to Expo settings.
Running project
First open the terminal in the current project folder in VS Code. Use any of the following ways to open the terminal :
Press Ctrl + Shift + P in VS Code then type Terminal, then press Enter to open the terminal
Click View in menu bar and then click on Terminal
Press Ctrl + ` (tilde symbol, below Esc)
Now in terminal type the following command.
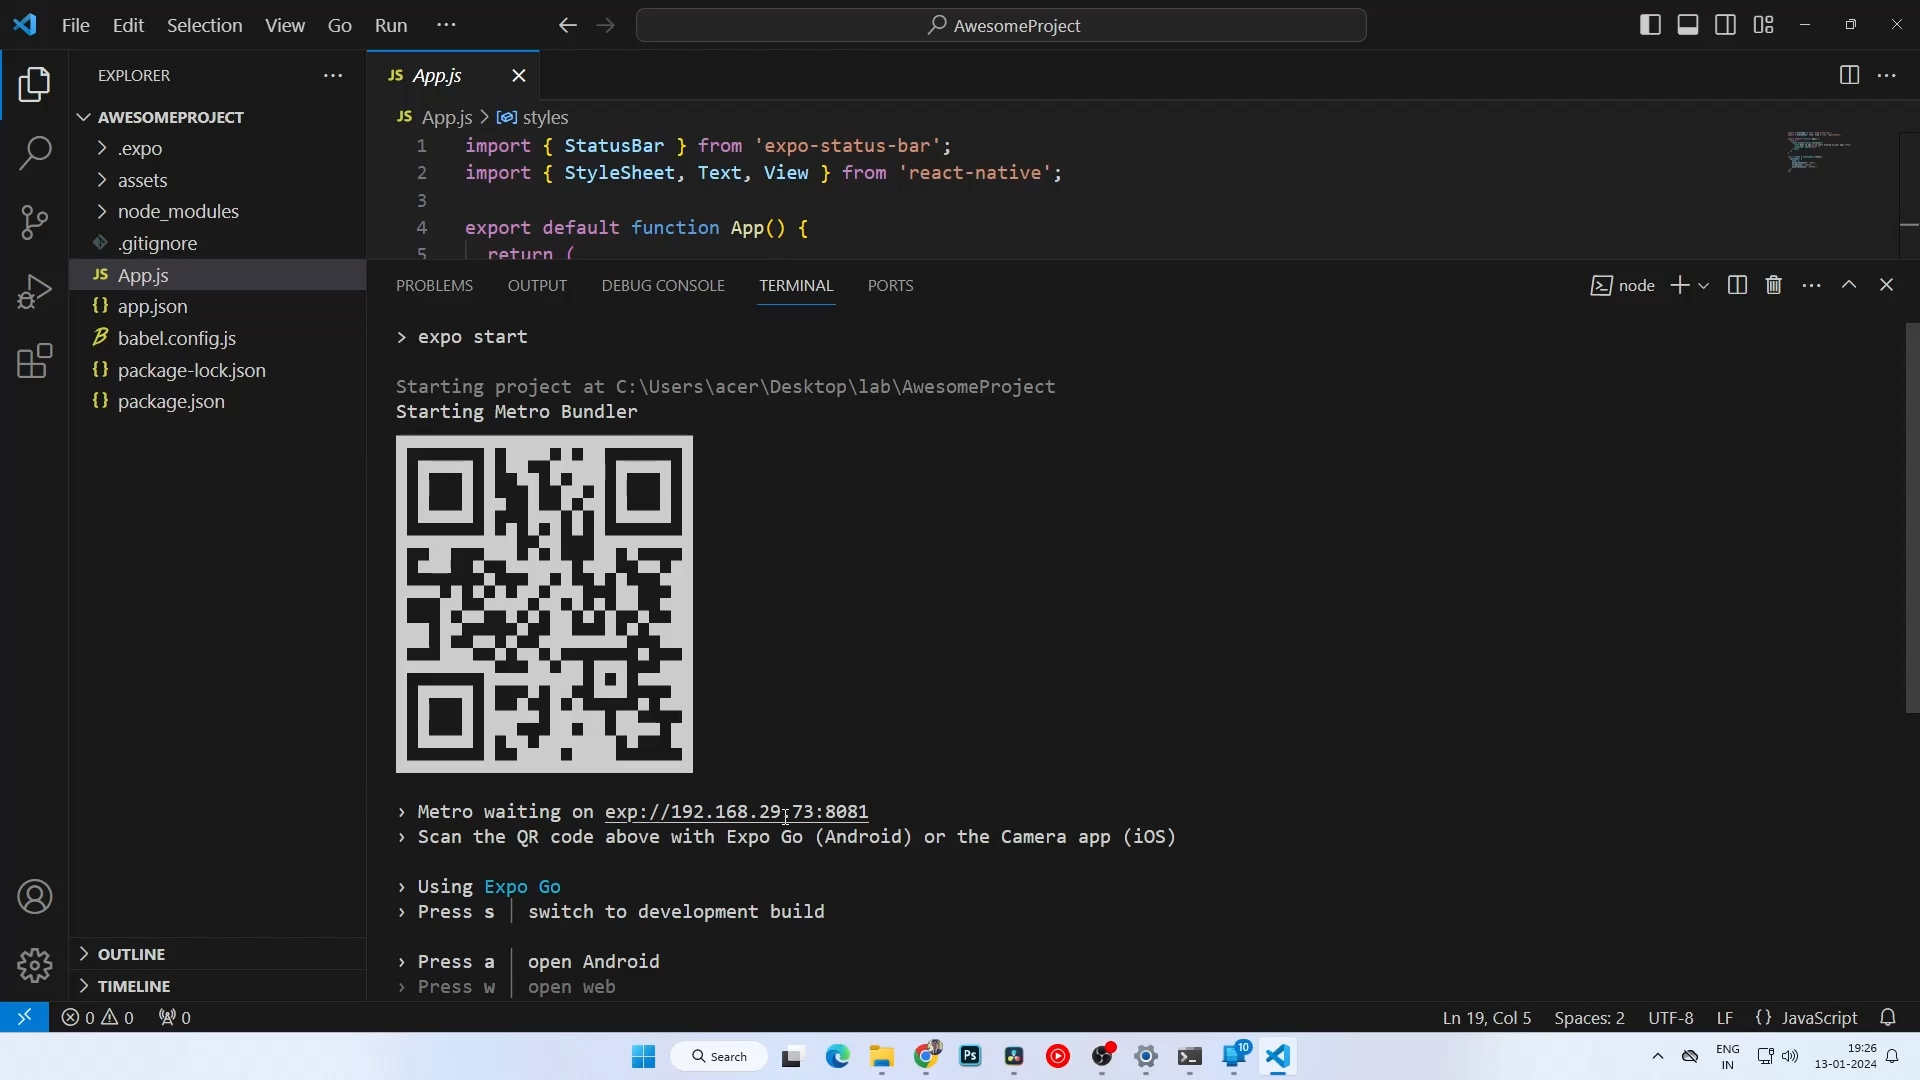
npx expo start
Output:
Running App on Device
Install the Expo Go app on your iOS or Android phone and connect to the same wireless network as your computer. On Android, use the Expo Go app to scan the QR code from your terminal to open your project. On iOS, use the built-in QR code scanner of the default iOS Camera app.
Modifying App.js
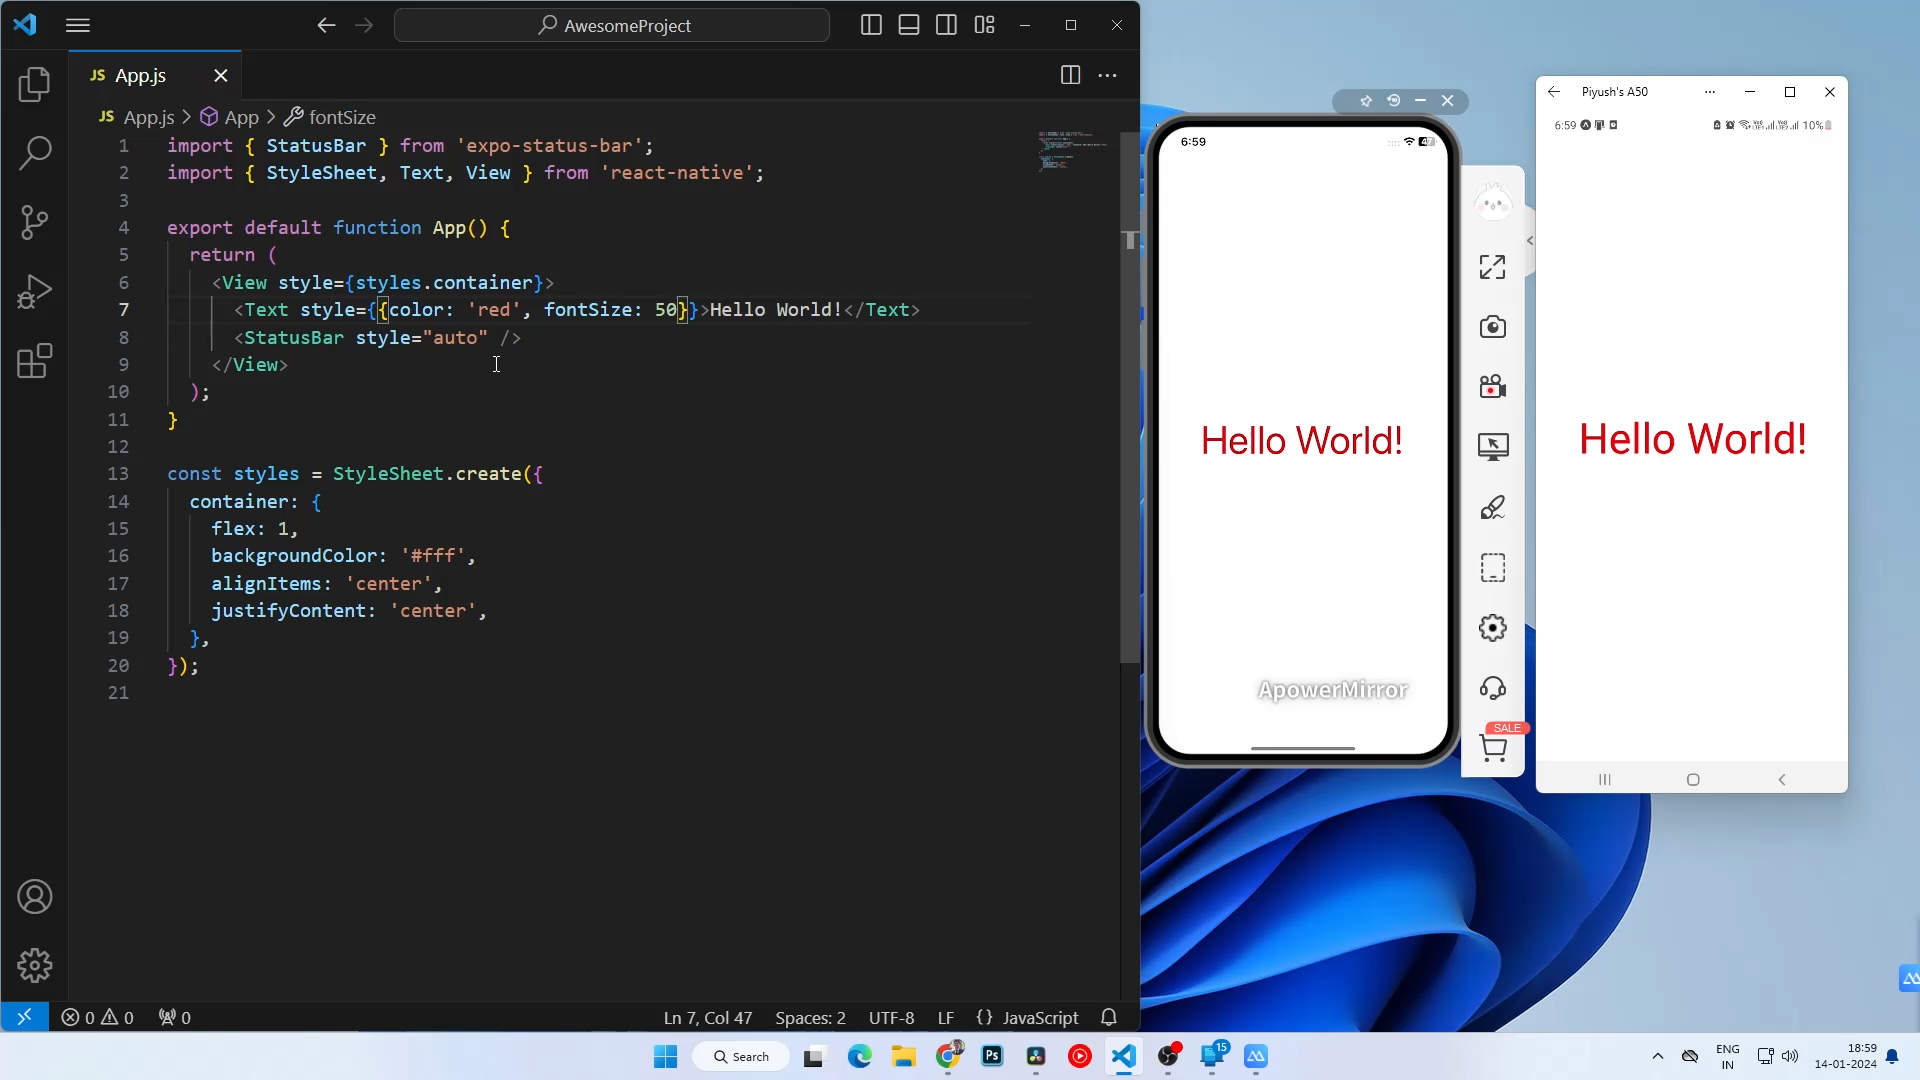
Now, lets change the App.js code by replacing current text with Hello World! and increasing the font size, and changing the text color.
Updated App.js
import { StatusBar } from 'expo-status-bar';
import { StyleSheet, Text, View } from 'react-native';

export default function App() {
  return (
    <View style={styles.container}>
      <Text style={{color: 'red', fontSize: 50}}>Hello World!</Text>
      <StatusBar style="auto" />
    </View>
  );
}

const styles = StyleSheet.create({
  container: {
    flex: 1,
    backgroundColor: '#fff',
    alignItems: 'center',
    justifyContent: 'center',
  },
});
Output ( On both iOS and Android )
In conclusion, this blog has guided you through the seamless process of setting up your React Native environment using Expo CLI. From installing Node.js and VS Code to creating and modifying your first app, you've learned the essentials. Now, as you witness instant updates on both Android and iOS devices with Expo Go, you're well on your way to mastering React Native development.
Thank you for reading and happy coding!